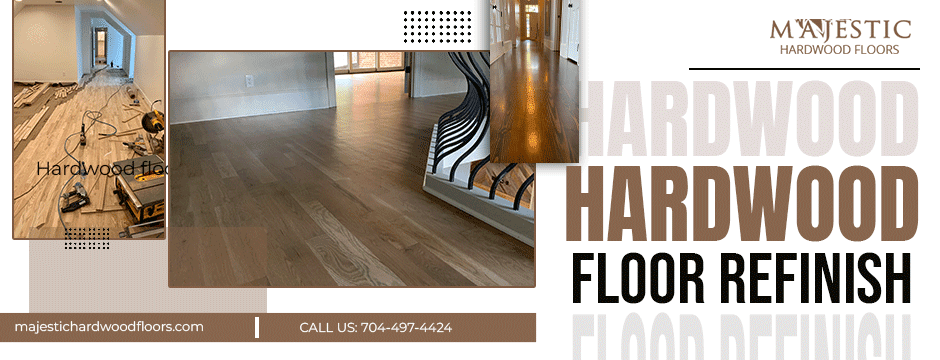
Hardwood floors possess a timeless elegance that often becomes even more enchanting with a touch of vintage charm. Distressing your hardwood floors through a DIY hardwood floor refinishing project is a creative way to infuse character and personality into your living spaces. In this guide, we'll walk you through the steps of distressing hardwood floors, offering insights into techniques that can transform your floors into a charming canvas of nostalgia.

Understanding Distressing in Hardwood Floor Refinishing
Distressing involves intentionally creating imperfections and signs of wear on your hardwood floors to mimic the natural aging process. This technique can give your floors a warm, lived-in appearance, reminiscent of antique or vintage aesthetics.
Step 1: Assess Your Hardwood Floors
Before embarking on the distressing journey, assess the current condition of your hardwood floors. Identify any existing damage, scratches, or imperfections that can be enhanced during the distressing process. Ensure your floors are in good structural condition before proceeding.
Step 2: Choose Your Distressing Techniques
There are various distressing techniques to choose from, depending on the level of vintage charm you desire. Popular DIY hardwood floor refinishing methods include:
Hand Scraping: Use handheld tools to scrape along the grain of the wood, creating intentional scrapes and gouges.
Wire Brushing: This technique involves using a wire brush to remove the soft wood between the grains, accentuating the wood's natural texture.
Hammer Dents: Gently tap a hammer against the floor to create small dents and divots, imitating the effect of natural wear and tear.
Chain Distressing: Drag a chain across the surface to create subtle dings and dents, adding character to the wood.
Step 3: Sanding for Smoothness
After distressing, sand the floors to smooth out rough edges and create a consistent surface. This step towards hardwood floor refinish is crucial for achieving a polished look while preserving the vintage character of the distressed areas. Start with a coarse grit sandpaper and progressively move to finer grits for a smoother finish.
Step 4: Choose Stain and Finish Wisely
Select a stain that complements the distressed look you've created. Darker stains tend to accentuate distressing, emphasizing the aged appearance. Ensure the stain is evenly applied, allowing it to settle into the distressed areas for enhanced contrast.
For the finishing touch, opt for a matte or satin finish rather than a high gloss. A lower sheen level will maintain the authenticity of the vintage aesthetic, avoiding an overly polished appearance.
Step 5: Seal and Protect
Apply a high-quality sealant to protect your distressed hardwood floors from daily wear and tear. A durable sealant will preserve the vintage look and ensure longevity.
Maintaining Distressed Hardwood Floors
While distressed hardwood floors are celebrated for their rugged beauty, proper maintenance is essential. Regular cleaning with a soft broom or vacuum attachment will prevent dirt and debris from settling into distressed areas. Use area rugs in high-traffic zones to protect the floors and add to the vintage charm.
Conclusion
Embarking on a DIY hardwood floor refinishing project with the goal of distressing opens up a world of possibilities for creating a vintage-inspired masterpiece. By carefully choosing distressing techniques, stains, and finishes, you can infuse your living spaces with a unique charm that tells a story of timeless elegance. Let your creativity flow, and watch as your distressed hardwood floors become a captivating centerpiece in your home.
Want to find out more? Visit us at Majestic Hardwood Floors!


0 Comments